
How to handle sensitive screenshots on iPhone (bank transfers, OTPs, IDs)
Published October 1, 2026
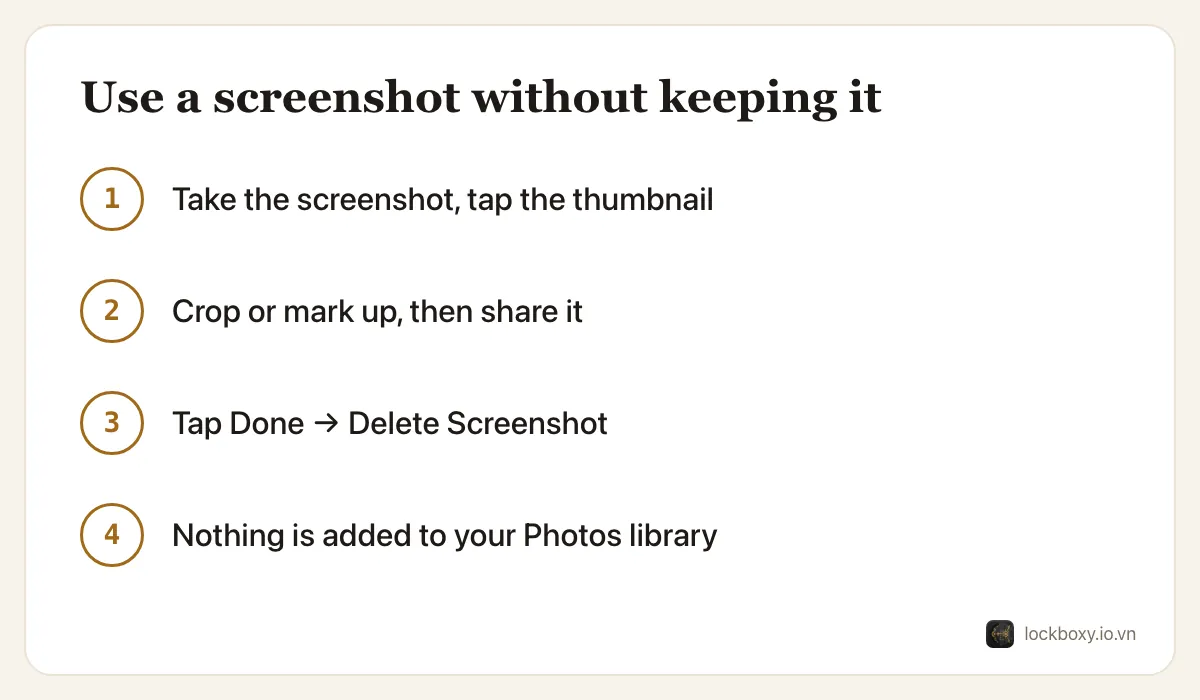
If you only need a screenshot for a moment — to send a transfer receipt or a booking reference — tap its thumbnail, share or mark it up, then tap Done and choose Delete Screenshot: it is never added to your Photos library. For the screenshots already there, open the Screenshots collection in Photos, delete the sensitive ones and then empty Recently Deleted.
Screenshots are easy to forget. Months later the library still holds banking details, one-time codes and ID numbers, synced to every device and searchable by the text inside them.
Why are screenshots riskier than ordinary photos?
- They capture exactly the information you meant to keep short-lived: account numbers, balances, OTP codes, QR codes for payments or tickets, ID numbers typed into a form.
- Photos can read the text in images. Searching your library for a bank's name or the word “OTP” can bring the matching screenshots straight up.
- With iCloud Photos on, each screenshot also appears on your iPad, Mac and any other device signed in to your Apple Account.
- They pile up. Unlike a photo you chose to take, most screenshots were never meant to be kept at all.
How do I share a screenshot without saving it?
Since iOS 17 the floating thumbnail lets you use a screenshot and throw it away in one go.
- 1Take the screenshot (side button and volume up together on Face ID iPhones).
- 2Tap the thumbnail in the bottom corner before it slides away.
- 3Crop out anything the other person does not need — your balance, other transactions, your full account number — and use the Share button to send it.
- 4Tap Done and choose Delete Screenshot. Choose Save to Files instead if you need to keep it outside Photos; Copy and Delete puts it on the clipboard for pasting once.
If you swipe the thumbnail away, the screenshot is saved to Photos as usual.
How do I find the sensitive screenshots I already have?
- 1Open Photos and scroll down to Media Types (on older versions: Albums → Media Types).
- 2Open Screenshots. Every screenshot is collected here, newest first.
- 3Use the search tab for words that tend to appear in sensitive ones: your bank's name, “transfer”, “OTP”, “code”, “boarding pass”, an ID number prefix.
- 4Tap Select and pick everything you no longer need.
How do I delete them so they are really gone?
- 1With the screenshots selected, tap the Delete (trash) button and confirm.
- 2Open Recently Deleted (under Utilities, or Albums on older versions). Deleted items stay there for up to 30 days.
- 3Unlock it with Face ID, tap Select, then Delete All or choose the ones to remove now.
With iCloud Photos on, deleting removes them from your other devices too. Copies you sent through chat apps or email stay in those conversations, so delete them there as well if needed. More details in how to permanently delete photos on iPhone.
What about the few screenshots I need to keep?
Some are worth keeping: a ticket QR code for next week, proof of a payment you might have to dispute, a recovery code (although those belong somewhere better — see how to store 2FA backup codes safely).
- Hide them: select, tap the More button, then Hide. They leave the Library and the Screenshots collection and move to the Hidden album, which requires Face ID — see how to hide photos on iPhone.
- Or move them into a locked note with a separate Notes password, then delete the originals from Photos and Recently Deleted.
Remember that anyone who knows your iPhone passcode can open the Hidden album, because the passcode is always accepted in place of Face ID.
Where Lockboxy helps
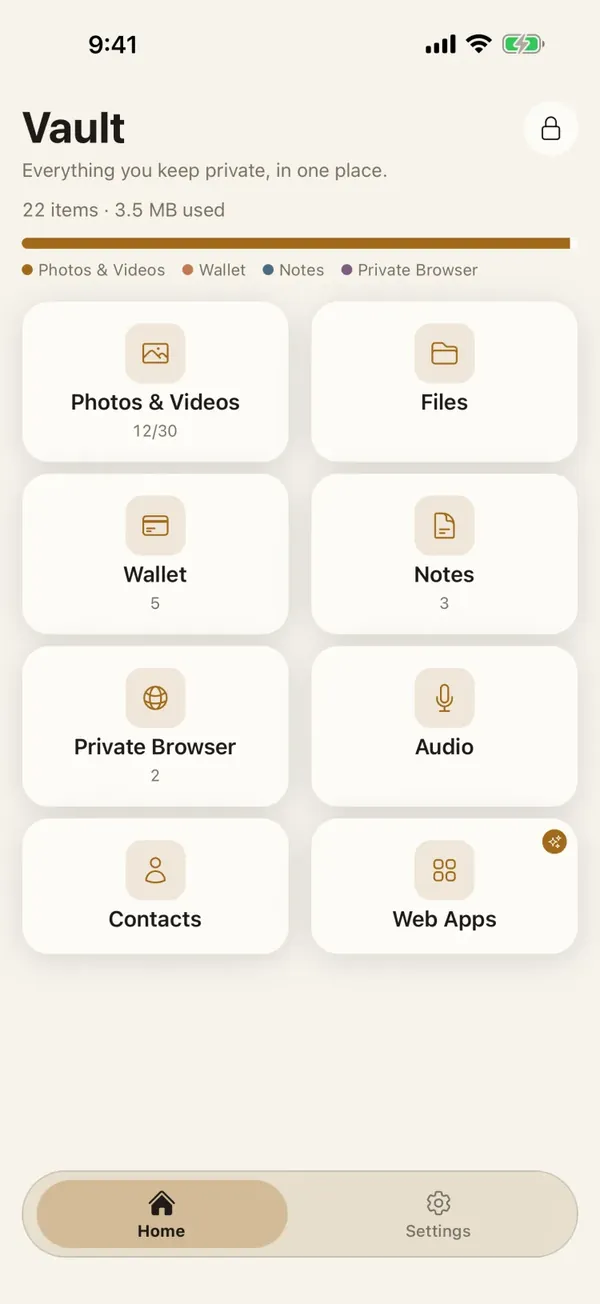
Lockboxy gives the screenshots you keep a home behind a passcode separate from your iPhone passcode, encrypted with AES-256 on the device, with no account and no server.
- Auto-Hide Screenshots (in Settings, free, off until you turn it on) copies new screenshots into the vault when you open Lockboxy. The originals stay in Photos, so delete them there yourself, then empty Recently Deleted.
- You can also send a single screenshot into the vault from the Share Sheet in Photos, or import a batch from your library and choose to remove the originals; iOS shows its own confirmation before anything is deleted.
- The vault's own content is hidden from screenshots and from the app-switcher preview.
The free plan holds up to 30 photos, videos or screenshots. If you forget the vault passcode without having created a Recovery Key (Premium), the content cannot be recovered. More in the Lockboxy FAQ.
Want a private place with its own passcode?
Lockboxy encrypts photos, videos, files and notes on your device, behind a passcode separate from your phone's. No account, no server.
Get Lockboxy on the App StoreMore guides
- How to permanently delete photos on iPhone (and every copy you forgot)
- How to hide photos on iPhone (and what “hidden” really protects)
- How to store 2FA backup codes safely (and where not to)
- How to lock apps on iPhone: Face ID lock, hidden apps and older-iOS workarounds
- How to store photos of your ID safely on your phone
- How to lock notes on iPhone with a password or Face ID
- How to store passwords safely on your phone
- How to lend your iPhone without exposing your photos
- How to store a seed phrase safely (and what not to do)
- What to do before sending your iPhone for repair
- How to take photos that don't save to your iPhone camera roll
- How to scan documents on iPhone (no app needed) and store them safely
- How to keep voice recordings private on iPhone
- How to stop iPhone photos syncing to your iPad and Mac
- What to do when your iPhone is lost or stolen
- How to erase your iPhone before selling it
- Lockboxy vs the iPhone Hidden album: which should you use?
- Lockboxy vs locked notes on iPhone: which is better for private notes?
- Phone privacy for livestream sellers: keep customer data off the stream
- Keeping client documents private: a phone routine for real-estate agents
Questions about how Lockboxy works? Read the FAQ