
How to erase your iPhone before selling it
Published October 1, 2026
Before selling an iPhone, back it up, unpair your Apple Watch, sign out of your Apple Account (which turns off Find My and Activation Lock), then go to Settings → General → Transfer or Reset iPhone → Erase All Content and Settings, and finally remove the SIM. Done in that order, the buyer gets a clean phone and nothing of yours goes with it.
Most problems come from doing these steps out of order: an erased phone still tied to your account is useless to the buyer, and an unchecked backup can mean losing data you only noticed was missing a week later.
Why does the order matter?
Activation Lock links an iPhone to the Apple Account that has Find My turned on. Erasing the phone does not remove that link. If you erase first and forget to sign out, the buyer sees a request for your Apple Account password when they set it up, and cannot use the phone.
The fix is easy if you are still in touch with the buyer: go to icloud.com/find, select the device and choose Remove This Device. But it is much simpler to sign out before you erase, so the phone is never left in that state.
Backing up comes first for the opposite reason: once the phone is erased, anything you did not copy is gone.
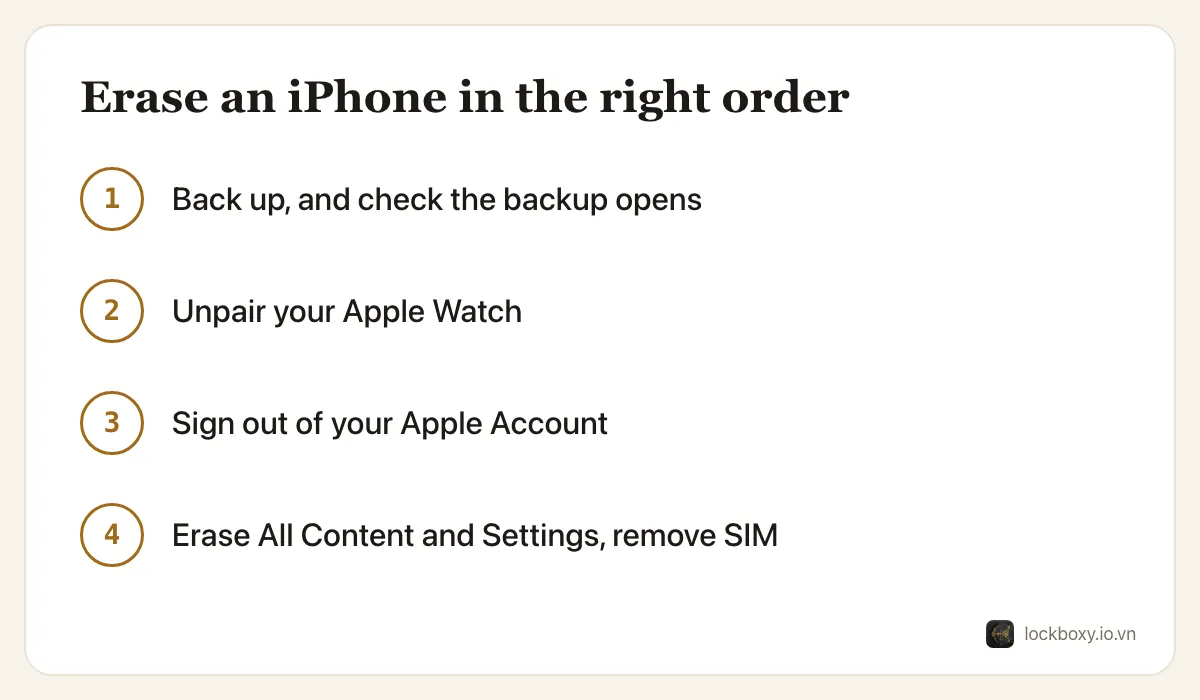
How do I back up everything first?
- 1iCloud Backup: Settings → your name → iCloud → iCloud Backup → Back Up Now. Wait until it finishes on Wi-Fi.
- 2Or a computer: connect to a Mac (Finder) or a Windows PC (Apple Devices app or iTunes) and choose Back Up Now. Turn on Encrypt local backup so passwords and health data are included.
- 3If you already have the new iPhone, Quick Start can move everything directly: place the two phones next to each other and follow the prompts.
Then check the things that do not live in a normal backup: two-factor authenticator apps (move the accounts or note your backup codes), banking apps that need to be re-activated on a new device, and any app that stores data only on the phone. Open the app and look for its own export or transfer option before you erase.
How do I unpair Apple Watch and sign out?
- 1Apple Watch: open the Watch app on the iPhone, tap All Watches, tap the info button next to the watch and choose Unpair Apple Watch. This also backs up the watch to the iPhone and removes its Activation Lock.
- 2Apple Account: open Settings, tap your name, scroll down and tap Sign Out. Enter your Apple Account password and choose Turn Off to disable Find My. Keep a copy of data if asked, then confirm.
- 3If you are moving to a non-Apple phone, deregister your phone number from iMessage at Apple's Deregister iMessage page, so messages from iPhone users are not lost.
How do I erase the iPhone completely?
- 1Open Settings → General → Transfer or Reset iPhone (on iOS 14 and earlier, Settings → General → Reset).
- 2Tap Erase All Content and Settings, then Continue.
- 3Enter your passcode. If you still see a prompt for your Apple Account password, you have not signed out yet — do it now.
- 4If the iPhone uses an eSIM, iOS asks whether to keep or erase it. When selling, choose to erase it, and contact your carrier if you need the eSIM moved to your new phone.
When the phone restarts on the Hello screen, the erase is done. Because the encryption keys are destroyed, what was on it cannot be read back.
What should I check before handing it over?
- Remove the physical SIM card and any case or screen protector with personal stickers.
- Sign in at account.apple.com, open Devices, and make sure the old iPhone is gone from the list; remove it if not.
- Remove the iPhone from Apple Pay cards in your bank app if it still lists it.
- Do not set the phone up again yourself after erasing; leave it on the Hello screen for the buyer.
- Meet in a safe public place, and only hand over the phone after payment has really arrived — not after a screenshot of a transfer.
If you are only sending the phone in for repair, not selling it, the steps are different — see what to do before sending your iPhone for repair.
Where Lockboxy helps
If you use Lockboxy, plan for it before you erase. The vault has no account and no server: its content exists only on that iPhone, encrypted with AES-256 behind your own passcode. That is why it is private — and why erasing the phone without a plan erases the vault too.
- To keep it on your new phone, use Lockboxy's own tools before erasing: export an encrypted backup (Premium) and save it in your iCloud Drive, Google Drive or Files, and run Verify Restore to check it opens; or, with both phones on the same Wi-Fi, use LAN transfer (Premium).
- If you only want some items back in your normal Photos library, select them in the vault and tap Unhide — they are decrypted and written back to Photos, ready for your usual backup.
- After the new phone shows your items, erase the old one as above. Nobody can open a vault without its passcode, and Erase All Content and Settings removes the vault's encrypted files from the old phone along with everything else.
Without a backup or transfer, the vault content cannot be brought back — not by you and not by us. More in the FAQ and in what to do if your iPhone is lost or stolen.
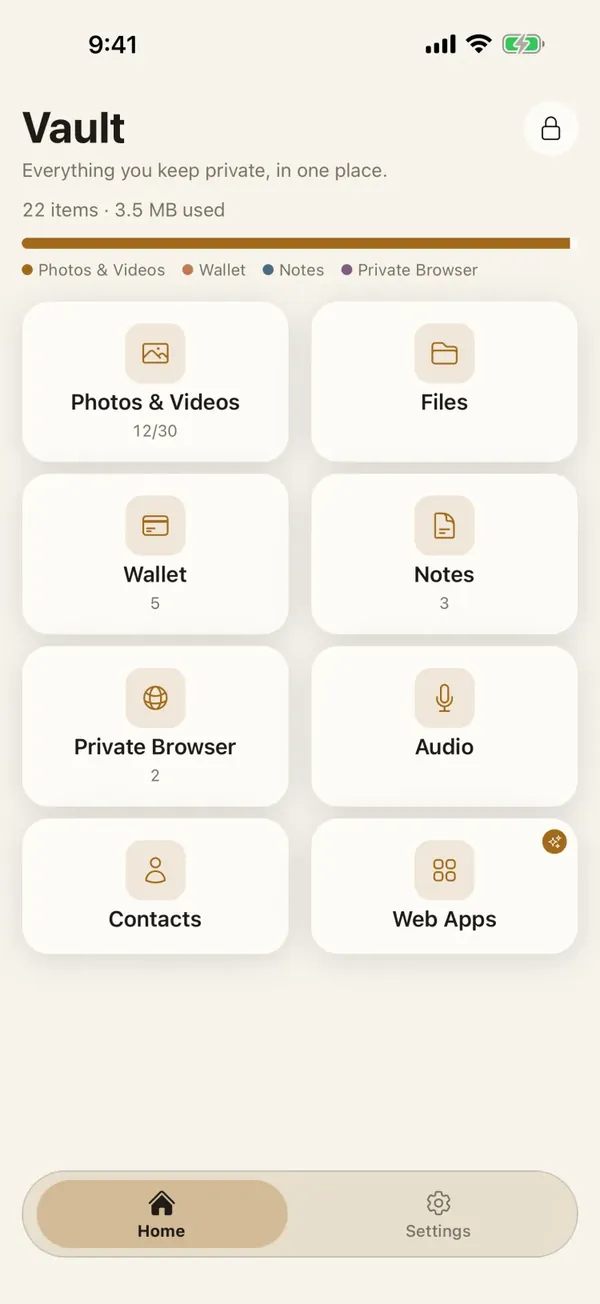
Want a private place with its own passcode?
Lockboxy encrypts photos, videos, files and notes on your device, behind a passcode separate from your phone's. No account, no server.
Get Lockboxy on the App StoreMore guides
- What to do before sending your iPhone for repair
- What to do when your iPhone is lost or stolen
- How to permanently delete photos on iPhone (and every copy you forgot)
- How to hide photos on iPhone (and what “hidden” really protects)
- How to lock apps on iPhone: Face ID lock, hidden apps and older-iOS workarounds
- How to store photos of your ID safely on your phone
- How to lock notes on iPhone with a password or Face ID
- How to store passwords safely on your phone
- How to lend your iPhone without exposing your photos
- How to store a seed phrase safely (and what not to do)
- How to take photos that don't save to your iPhone camera roll
- How to scan documents on iPhone (no app needed) and store them safely
- How to store 2FA backup codes safely (and where not to)
- How to handle sensitive screenshots on iPhone (bank transfers, OTPs, IDs)
- How to keep voice recordings private on iPhone
- How to stop iPhone photos syncing to your iPad and Mac
- Lockboxy vs the iPhone Hidden album: which should you use?
- Lockboxy vs locked notes on iPhone: which is better for private notes?
- Phone privacy for livestream sellers: keep customer data off the stream
- Keeping client documents private: a phone routine for real-estate agents
Questions about how Lockboxy works? Read the FAQ